Choosing the Right Lighting for Your Tiki Mug Display

Are you staring at a beautiful collection of ceramic mugs that looks dull or flat under your standard room lights? The right lighting doesn't just show off your collection—it changes how the glaze, texture, and color are perceived. This guide breaks down how to select, position, and install lighting systems specifically for high-end ceramic collectibles and small-scale displays.
What Kind of Light is Best for Ceramic Tiki Mugs?
LED lighting is the best choice for ceramic collectors because it produces minimal heat and lacks UV radiation. Traditional incandescent bulbs get hot enough to expand the air inside a mug (which can cause cracks) and emit UV rays that can fade certain glazes over time. Since most of us display our collections in living rooms or home bars, we need light that is safe for the material.
LEDs are the gold standard here. They offer a wide range of color temperatures and, more importantly, they won't bake your ceramics. If you have a high-gloss mug with a deep cobalt or emerald glaze, you want a light that highlights that depth without creating a blinding glare.
Here is a quick look at the three main types of light you'll encounter when shopping for display accessories:
| Light Type | Best Use Case | Pros | Cons |
|---|---|---|---|
| LED Strips | Inside glass cabinets | Even light distribution; low profile | Can be hard to hide wires |
| Spotlights | Highlighting a single piece | Dramatic effect; focuses attention | Creates harsh shadows |
| Puck Lights | Shelf lighting | Easy installation; great for small spaces | Limited reach |
If you're working with a deep cabinet, an LED strip is usually your best bet. It provides a continuous line of light that prevents those awkward dark spots in the corners of your shelves. You'll want to look for "dimmable" options so you can adjust the intensity based on the time of day.
How Do I Prevent Damage from Light?
To prevent damage, you must use light sources that emit zero UV radiation and keep the heat output low. UV light is the enemy of many collectibles—not just ceramics, but also the vintage paper ephemera or textiles often found in Tiki bars. While ceramic is quite durable, the paint on certain vintage-style resin or plastic pieces can degrade under intense light.
Heat is actually a bigger concern for ceramic collectors. If you place a high-wattage halogen bulb too close to a delicate piece, the thermal expansion can lead to "crazing"—those tiny, hair-like cracks in the glaze. If you've ever wondered why some pieces look older than they are, it might be due to poor environmental control. You might want to check out my previous post on common mistakes that ruin ceramic Tiki mugs to see how heat and temperature play a role in long-term care.
A good rule of thumb: if the light feels hot to the touch after ten minutes, it's too close or too powerful for your display.
It's also worth noting that many collectors forget about the "hidden" light. If your display cabinet is near a window, that natural sunlight is a massive source of UV. You might need to consider UV-filtering film for your windows if your collection is in a bright sunroom. It's a small investment that saves a lot of headache later.
How Much Should I Spend on Display Lighting?
The cost of display lighting varies wildly, but most collectors can achieve a professional look for under $100 using consumer-grade LED products. You don't need a custom-built lighting rig to make your collection look like a museum piece.
Here is how the costs typically break down based on the level of your collection:
- The Budget Tier ($15 - $30): Battery-operated LED puck lights or basic plug-in LED strips. These are great for small shelves or single-shelf setups.
- The Intermediate Tier ($50 - $150): Smart LED strips (like those from Philips Hue) or high-CRI (Color Rendering Index) strip lights. These allow you to control color temperature and brightness via a phone app.
- The Professional Tier ($300+): Custom-integrated lighting systems or high-end museum-grade spotlights. This is usually for people with large, built-in custom cabinetry.
Don't feel pressured to jump straight to the expensive stuff. A simple, well-placed LED strip can do wonders. The goal is to illuminate the texture of the mug, not just the area around it.
When shopping, look specifically for the CRI (Color Rendering Index). A higher CRI means the light shows colors more accurately. If you have a mug with a complex, multi-colored glaze, a low-CRI light will make it look muddy and dull. Aim for a CRI of 90 or higher. This ensures the vibrant oranges and deep teals of your Tiki ware actually pop.
How to Position Lights for Maximum Effect?
Positioning is everything. If you place a light directly above a glossy ceramic mug, you'll get a "hot spot"—a bright, white glare that obscures the detail of the piece. You want to light the object, not the reflection of the light.
Try these three techniques to get the best look:
- Side-Lighting: Place your lights at an angle to the mugs. This emphasizes the 3D texture of the carving or the relief on the ceramic. It creates subtle shadows that give the piece depth.
- Back-Lighting: If you have a glass cabinet, placing light behind or slightly above the mugs can create a beautiful "halo" effect. This is particularly striking for translucent or thin-walled ceramics.
- The "Indirect" Method: Instead of pointing the light at the mug, point it at the back of the cabinet or the underside of the shelf above it. This creates a soft, diffused glow that is much easier on the eyes.
If you're displaying smaller items like pins, caps, or small bottles, you'll need more precision. For these, I suggest using small, directional spotlights. You want to "carve" the light into the space so the small items don't get lost in a sea of shadow.
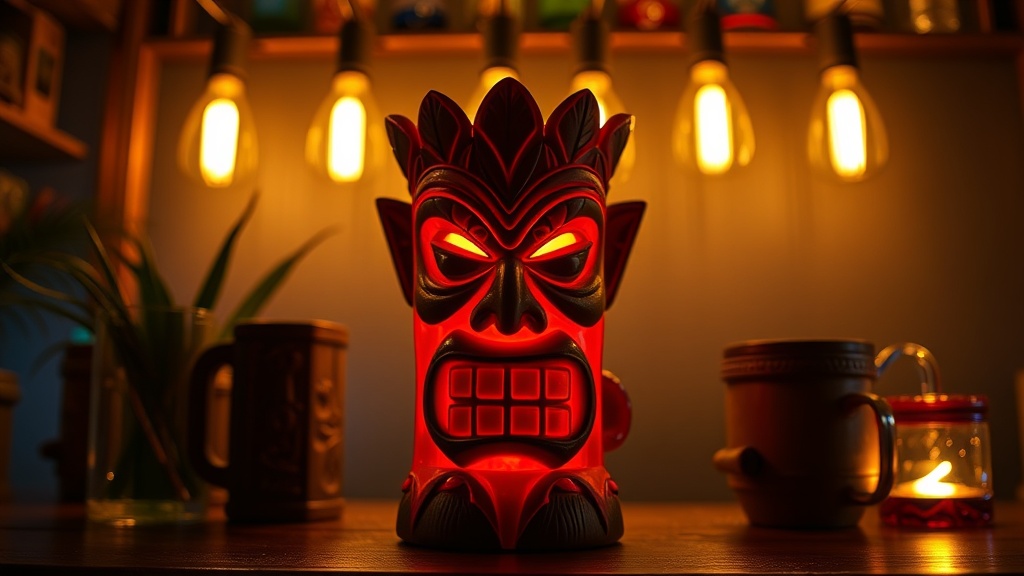
A common mistake I see is using "cool white" light (which looks blue) for everything. While it's bright, it can make your ceramics look cold and clinical. For a Tiki theme, you generally want a "warm white" (around 2700K to 3000K). This mimics the cozy, tropical vibe of a classic mid-century lounge.
One thing to keep in mind—and this is a bit of a pro tip—is the "shadow gap." If your shelves are too close together, the light from one shelf might bleed into the next, creating a messy look. Make sure there is enough clearance between your lights and the bottom of the shelf above to allow for air circulation and light spread.
If you're interested in the technical side of how light interacts with different surfaces, the Wikipedia page on Color Rendering Index is a surprisingly helpful resource for understanding why certain colors look different under different bulbs.
Ultimately, your display is an extension of your collection. Whether you're showing off a rare, hand-painted piece or a stack of vintage souvenir mugs, the light is what tells the viewer where to look. Spend a little time experimenting with angles and temperatures. It's much better to do it now than to realize a year later that your favorite piece has been staring at a harsh, unflattering light this whole time.